Docker Compose Cross App Networking
Intro
Docker is great for simplifying your local development environment. But, as your workspace grows, lots of apps begin to come online.
Do you have to create a database, background services, messaging services for each of these apps?
This can be a real bug-bear. You might also need to connect to some service that is the backbone of your architecture e.g. Kafka.
Docker to the rescue!
Most people back off from docker abstraction, and begin to expose ports to the client outside of the docker container to bypass this. There is no need - docker can handle this just fine. It can even be setup in your docker-compose.yml to save you from copying and pasting those long command line arguments.
Getting Started
Lets build some Kafka applications inside docker, and connect them up.
Get some Kafka
We are going to build a Kafka docker-compose.yml that will run Lenses using the pre-built image available from Lenses.io ( you need to sign-up for a free license - read ahead to see if it is worth it ).
When I have shared services I always add them to my utilities folder. If you don't have one, lets make one!
mkdir -p docker-utilities/lenses

cd docker-utilities/lenses

touch docker-compose.yml
You can find my example here: lenses setup. The below compose file is all you need, and you can assign the LENSES_LICENSE_URL as an environment variable.
version: '3.5'
services:

  kafka:
    container_name: kafka
    image: landoop/kafka-lenses-dev
    environment:
      SAMPLEDATA: '0'
      RUNNING_SAMPLEDATA: '0'
      EULA: '${LENSES_LICENSE_URL}'
    networks:
      kafka_net:
    ports:
      - '3030:3030'
      - '9092:9092'
      - '2181:2181'
      - '8081:8081'
      - '9581:9581'
      - '9582:9582'
      - '9584:9584'
      - '9585:9585'

networks:
  kafka_net:
    driver: bridge
    name: kafka_net
The real special sauce here is that we are setting up a network called kafka_net. This is the virtual network that our Lenses container belongs to.
I'll show you how to get other apps to join this network as well.
Booting Lenses
We can start lenses now:
docker-compose upLenses takes a little while to start, but you will find the admin panel at localhost:3030 once it is ready. The username:password default is admin:admin.

Lenses is up and running, with an Apache Kafka Cluster and Broker. Now we need to create some Apache Kafka apps to use it!
Karafka
Karafka is a framework for building Apache Kafka applications with Ruby, and it supports Ruby on Rails.
We are going to clone the example application to a new directory:
git clone git@github.com:karafka/example-app.git\It is not a docker app, but we can make it one.
We need a ruby image for this app, so create a Dockerfile in the directory and add:
FROM ruby:2.6.1

RUN apt-get update -qq && apt-get install -y \
  build-essential libpq-dev nodejs

RUN mkdir /myapp

WORKDIR /myapp

COPY Gemfile /myapp/Gemfile

RUN bundle install

COPY . /myapp
To boot the application we will use the following docker-compose.yml:
version: '3.5'
services:

  web:
    build: .
    command: bundle exec karafka server
    volumes:
      - .:/myapp
    ports:
      - "5000:5000"
    networks:
      kafka_net:
See in the above that we specify the kafka_net we created earlier as the containers network. This will mean we can access the other containers in this network using their container names and ports.
One last thing! If you open up karafka.rb you'll see line 17 specifies the lookup for the Apache Kafka broker. We need to point this to our Lenses Apache Cluster, which we named with container_name: kafka
# karafka.rb Line 17
config.kafka.seed_brokers = [ENV['KAFKA_HOST'] || 'kafka://kafka:9092']
Everything comes together to produce this one container address - this is how to read it:
kafka://Use the Apache Kafka protocolkafka:9092Look for a service namedkafkaon the network and connect on port9092.
With that sorted lets boot:
docker-compose upSending Test Messages
Karafka provides a rake task to start sending messages.
In a new terminal and in the example-app directory run:
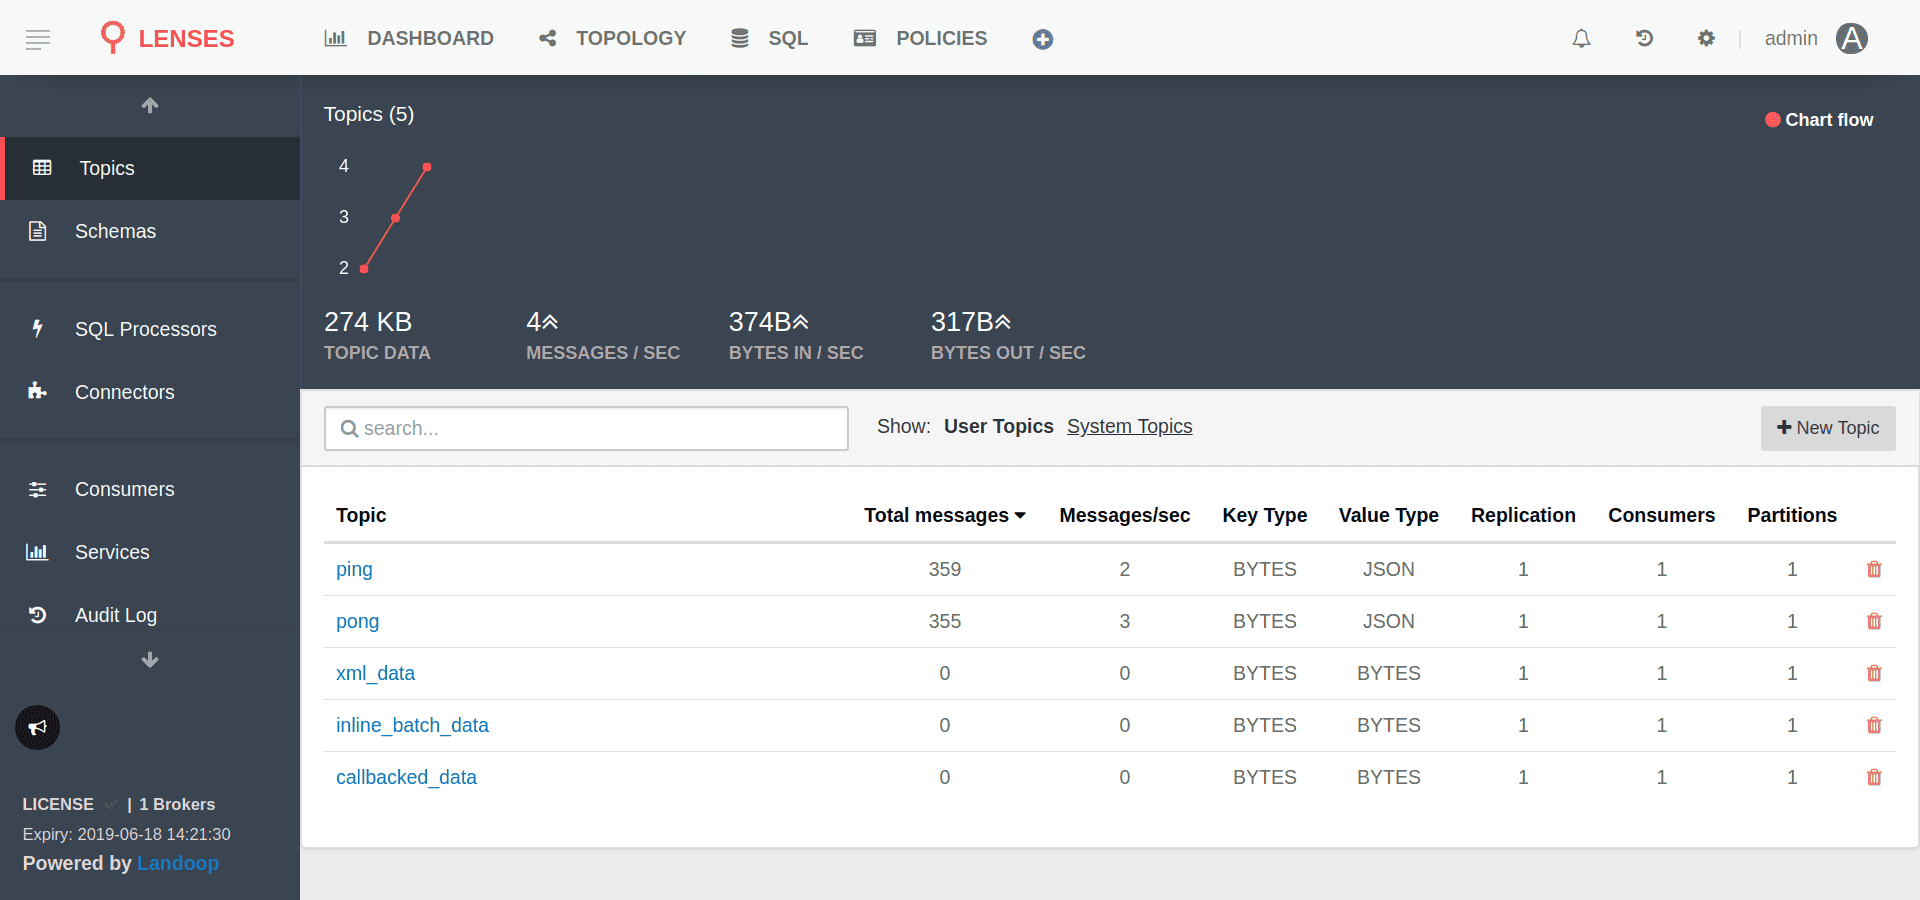
docker-compose exec web bundle exec rake waterdrop:sendNow head over to http://localhost:3030/lenses/#/topics and enjoy the fun.

Wrap-Up
Thanks for reading this introduction to networking between compose files.